
Written By: Christina Newberry
Reviewed By: Gloria Tsang, RD
Title: Registered Dietitian
Last Updated on:

Thanksgiving dinner is all about family. But, let’s be honest, it’s also all about the food. Thanksgiving is one of the few meals where we really focus on home cooking, rather than pre-made or purchased food items. But along with your home-cooked turkey, gravy, potatoes, and pie, will you be serving boring, store-bought bread? Even if you think you don’t have time to add one more item to your Thanksgiving to-do list, you can make this easy homemade bread recipe. It involves absolutely no kneading and just about zero effort.
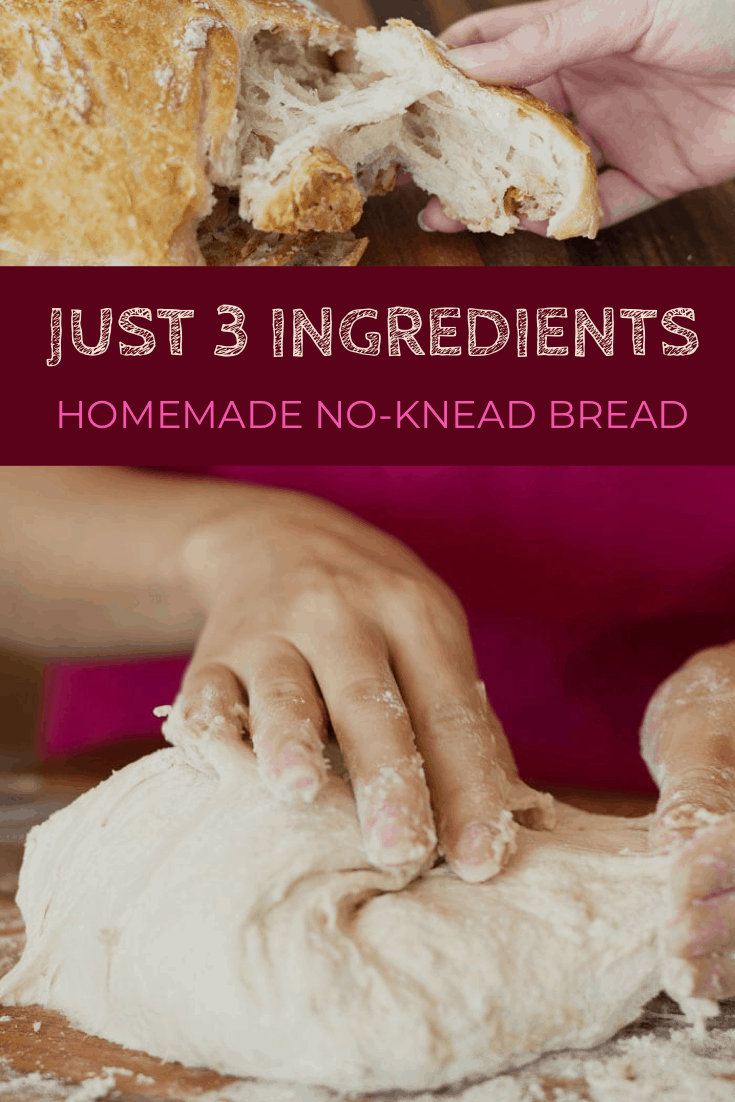
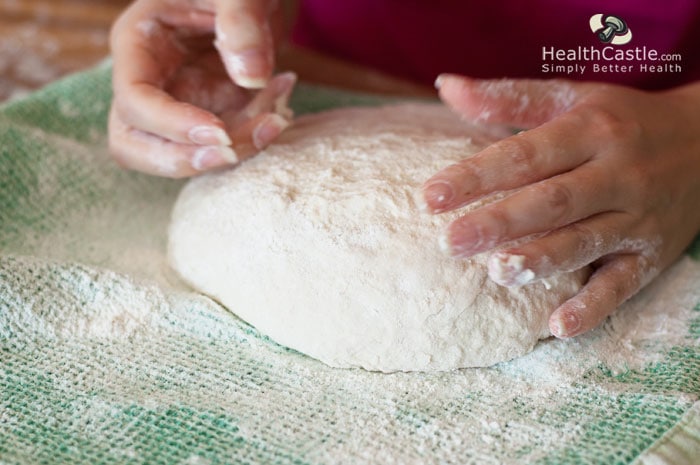
No-knead bread recipes took the Internet by storm way back in 2006, when The New York Times published a recipe adapted from one created by Jim Lahey at Sullivan Street Bakery. I first discovered the concept shortly before Christmas a couple of years ago, when I was looking for bread maker reviews. Someone had posted a comment on a review saying that there was no need for a bread maker if you use the no-knead bread recipe, since the process of making it takes virtually the same amount of work as using a machine. I had to check it out. The result? A beautiful, round, rustic-looking loaf with a crispy crust and soft inside. Delicious! And it’s made with only three ingredients! Here’s how to make it yourself.
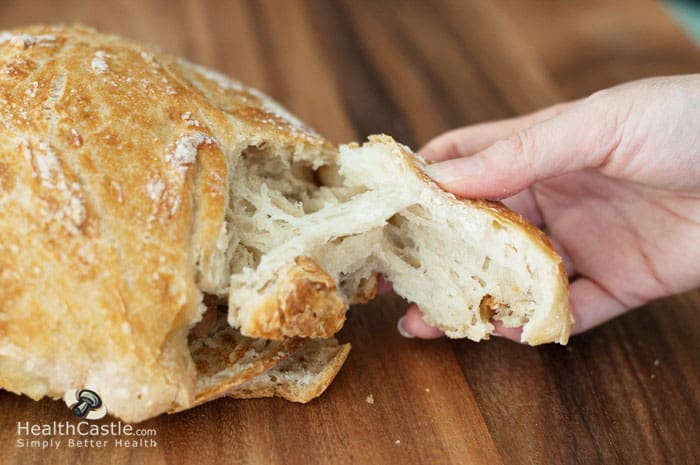
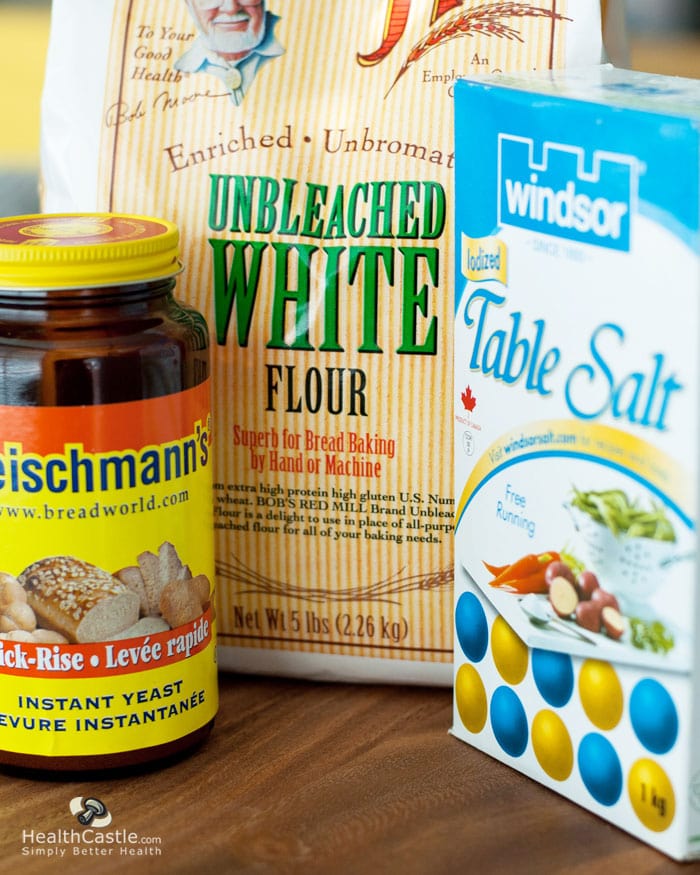
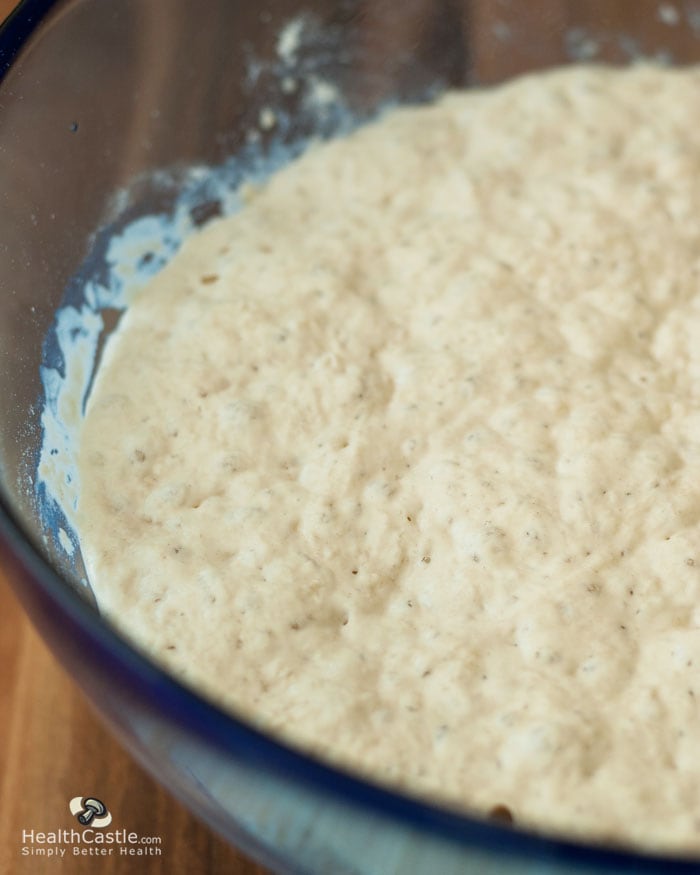
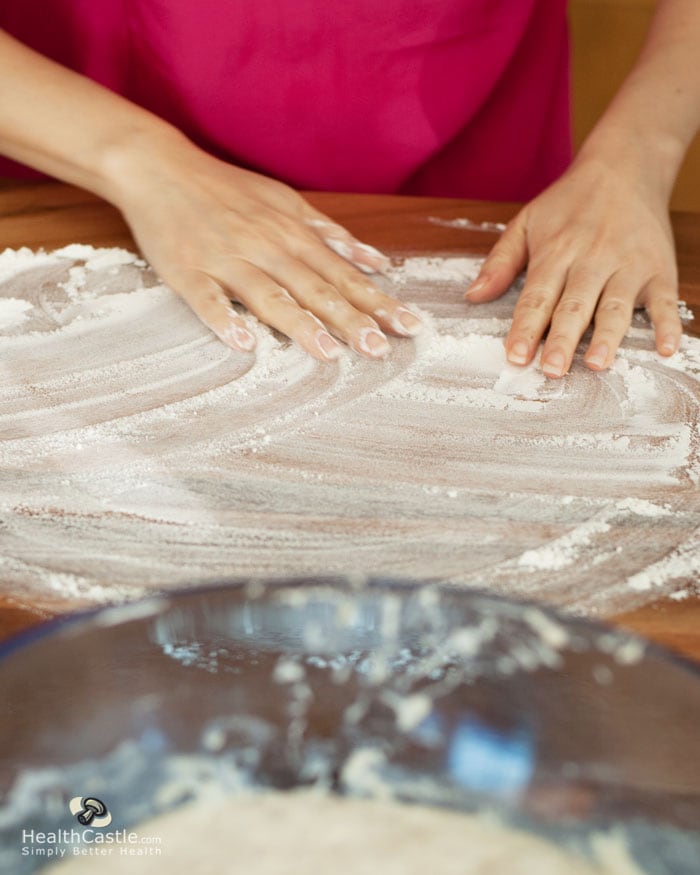
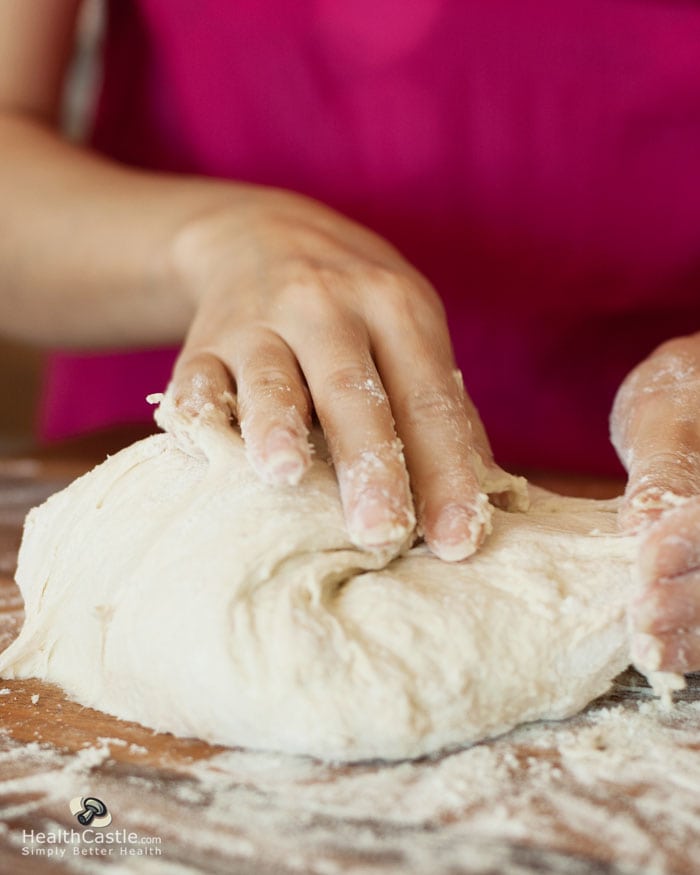
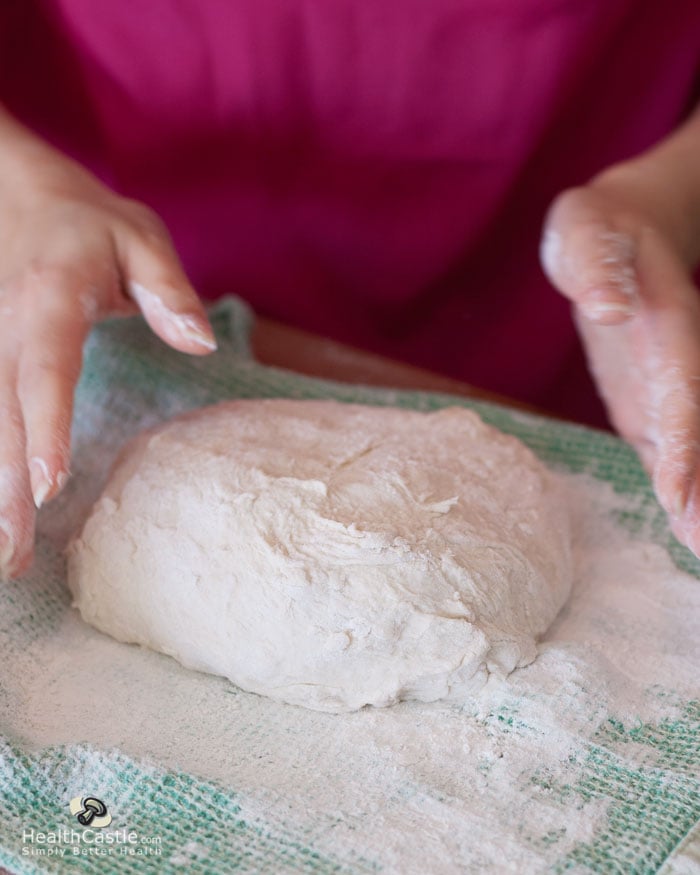
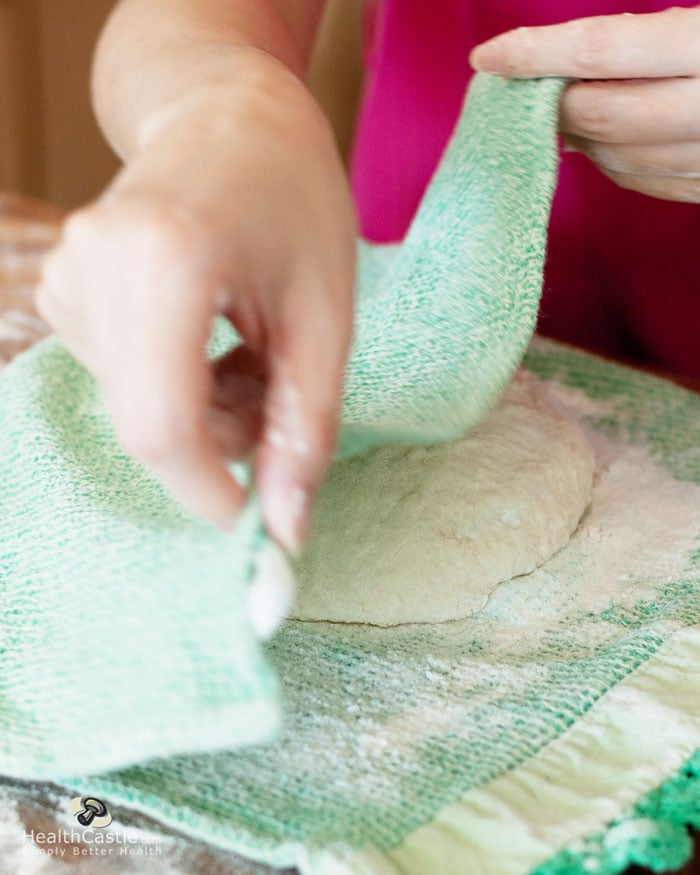
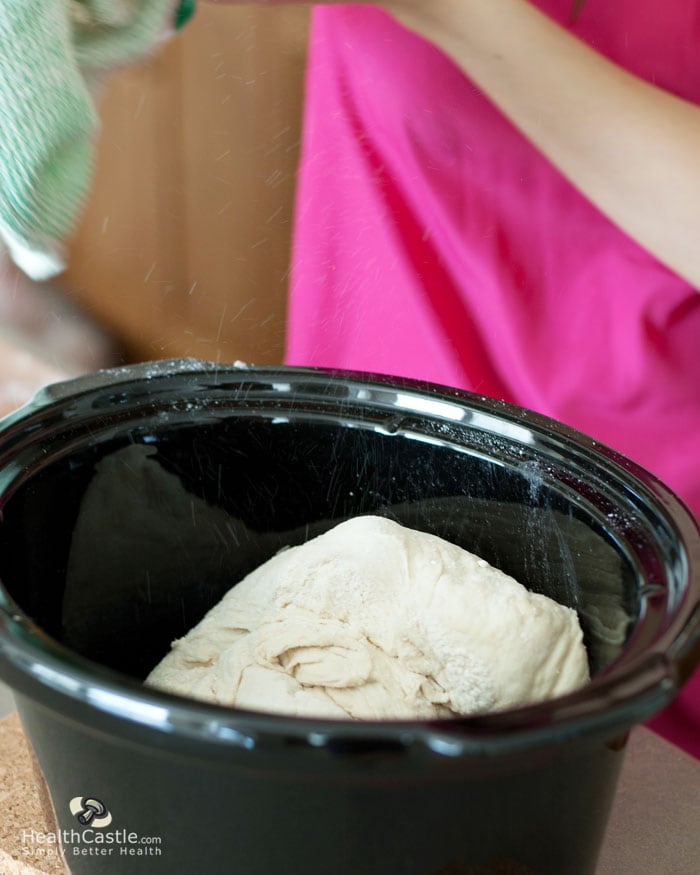
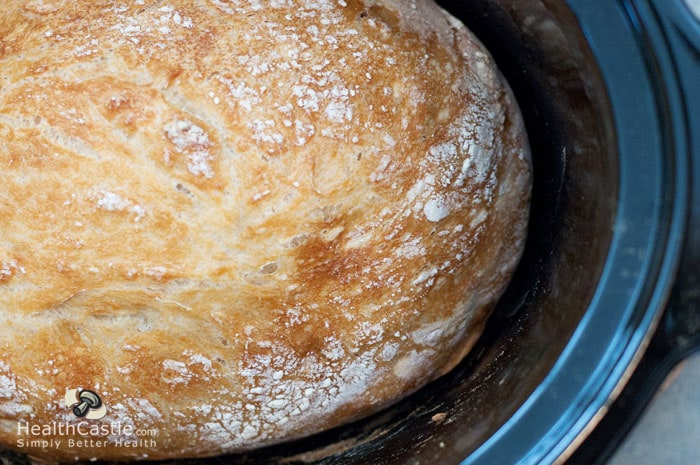
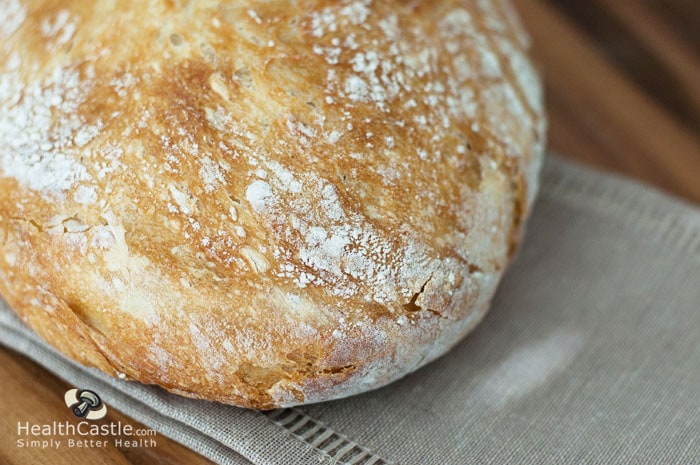

I’ve been making this recipe regularly for a couple of years now, and have tried several modifications.
Nothing smells better than a loaf of homemade bread. With this recipe, you only need to put in 15 minutes or so of actual work to create a delicious loaf you can tailor to your own tastes and nutritional preferences. If you want to be really ambitious, serve it with homemade butter for an irresistible treat.
Alumni: University of Victoria – Christina Newberry is a writer and editor whose work has appeared in national and local magazines and newspapers. With a Bachelor’s degree in English and Anthropology from the University of Victoria and a Journalism Certificate from Langara College, Christina brings keen curiosity and the love of a good story to her work with HealthCastle.com.
Christina is a passionate traveler and urban gardener with an interest in vegetarian eating and making good, tasty food from scratch. Sharing lessons learned from her own experiences, Christina writes about lifestyle topics for HealthCastle, with a focus on eating well at home and on the road.
3 ingredient bread, bread, home cooking, how to cook, no knead bread, recipes
This is definitely super simply and it turned out WAY better than I could have predicted. Thank you! So delicious!
Hi Ian, long time no see/read. I have retired now, I am 77, I was wondering if you could make this bread out of gluten free flour. There would be a big demand for this because of the ever expanding number of people diagnosed as celiacs. Cheers mate. John Bobbin MClinSc- Lifestyle Medicine.
hi! can’t wait to try this for my very first attempt at bread :) is there a way to add ingredients like cheese, jalapeños or a sausage? Thank you!!
Hi Cecily,
You are welcome! And you asked a great question. If you do try adding any extra ingredients, please do share your results! I am sure others would like to know too.
Enjoy your first homemade bread!
Can use gluten free flour with this recipe?
Hi Nancy,
Personally, I have never tried it with gluten free flour but I have heard of others doing it with success. If you do get a chance to try it, let us know how it goes! Good luck!
Would this still work with almond meal?
Hi Kelly,
The wonderful part of home cooking is you just try it out. If you do get a chance to use almond meal, let us know how it turns out!
Good luck!
Define “Large”
I have a Corning ware dish 1 1/2 L.
is that large enough
Hi Donnamk,
The “Large” mixing bowl is meant for mixing and combining 3 cups of flour and 1.5 cups of water. I think 1.5 L may not be large enough. I would say something larger like the size of a large salad bowl may be easier to work with.
Good luck!
Made this delicious no-knead bread and it was awesome!!!
Will be making it many times so thank-you so much!!!
That is fantastic Vanessa! Thank you for sharing your results. Enjoy more loaves to come!
Awesome Bread Recipe!!!
Thank you for the 5-star rating Vanessa! We love this recipe too!
The time for the first rising is at least 12 hours—plus a second rising—plus baking time—so total time for making this bread is at least 15 hours. For me, it would be much easier to use my bread machine and have fresh bread in much less time.
I often use the dough setting on my bread machine to mix the dough and use it to make buns.
Made it. Super easy, very delicious using 1 cup bread flour, 2 of all-purpose. Nice chew, excellent crust. Today I will try subbing in one cup of whole wheat pastry flour. Since I have a pot whose handle melts with temps higher than 375F, I preheated my pot to that temperature. After a half hour, I removed the lid and cranked the oven up to 450F for 20 minutes. Bread’s internal temperature was 190F- just right.
Hi Maryanne,
It is an easy recipe I agree! Glad your first attempt got great results. Please do post back once you have had the chance to try the whole wheat flour substitute. Would love to know how it worked out.
Enjoy!
The bread turned out great! I baked mine in a cake pan because that was all I had. It is a lovely bread, and worth the overnight rise. I had 2 pieces with apricot jam just now, and will eat more tomorrow.
I’m not sure why Ms. Bread Machine left her negative comment, even though she never tried the recipe. People are so mean these days, on the internet at least.
Hi Wisdom Evergreen,
So glad to hear everything went well when you tried this recipe! Do enjoy the rest of the loaf and let us know if you make more!
Thank you!
Do you think it will work with gluten free flour?
Hi Diane,
Personally, I have never tried with gluten free flour but I have seen others do it with success. Let us know how it goes if you get a chance to try it! Good luck!
I would like to try this bread, but I need to use a bread machine. Is that possible? Any suggestions you could give me?
Jack the Baker
I have same questions can it be made with Gf flour and can I use my bread machine?
Hi Jacqueline,
Normally, a bread machine recipe is a little different as this recipe is a no-knead recipe. The bread machine is used for kneading. Hope that helps.
Bread tastes & looks great! However, the two times I’ve made it, I lost more dough that I thought reasonable to the tea towel. I’ve rubbed flour into it and dusted it with a physical barrier of flour only to have the dough imbedded into the fabric. Suggestions?
Hi Cassie,
First of all, congrats on making some good bread! Glad this recipe tasted great!
Now, it’s interesting that you lost an unreasonable amount of flour on your tea towel. Since you dusted it, I wonder if it’s the material that the tea towel was made from or the type of knot on it? Perhaps try a different one that is more tightly knit as we did not run into this issue.
Please let us know how that goes!
I found your recipe years ago and we absolutely love it, maybe a little bit too much! I would like to make cinnamon raisin bread, would 3 tbls cinnamon and one cup of soaked raisins work? I will add them at the beginning of the 2nd rise.
Thank you
Hi Denise,
Glad you love this recipe as much as we do! It is indeed a really good one that always get good results.
We have not tried it with cinnamon and raisins. If you do get a chance to test it out, please come back and let us know how it goes! I am sure other readers are also wondering this too.
Thanks!